How to Use Pre-Made Quizlet Sets & Edit for Your Class
How to Use Pre-Made Quizlet Sets & Edit for Your Class
Lesson planning takes up a lot of time, but there’s a time-saving tip I’m surprised more teachers don’t know about!
Using already created Quizlet sets on Quizlet, and tweaking them for your curriculum’s specific vocabulary!
Below I’ll show you the 6 steps to finding a set on Quizlet, and editing it to fit your needs!
1) First, go to Quizlet.com and create a teacher profile if you don’t already have one. It should be free, but it may prompt you (annoyingly) to sign up for the paid account! A few years back, I did use the paid version for 1 school year, and while it had its benefits, it just wasn’t high on my list of priorities with my budget.
2) Once you’ve created an account, in the top search bar click where it says “Search for flashcards”

3) You can type anything in there! I’m keeping it simple, and just typing in “Spanish colors” in my screenshots below. Press enter & a bunch of results will pop up. You can filter by All Results, Study Sets, Textbooks, Questions, Users, and Classes. Usually, All Results or Study Sets show the most relevant terms. You can click any of the sets that seem to be closest to what you want.
a) I clicked the middle option, with 14 terms. If I like every term that is included, I can click the “Add to Class or Folder” button. You can organize Classes or Folders however makes sense to you!
4) It has a few terms I don’t care to use, Silver & Gold, as seen in the screenshot.


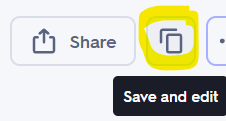
a) To edit a few of these terms, I’m going to click “Save & Edit” as seen here:
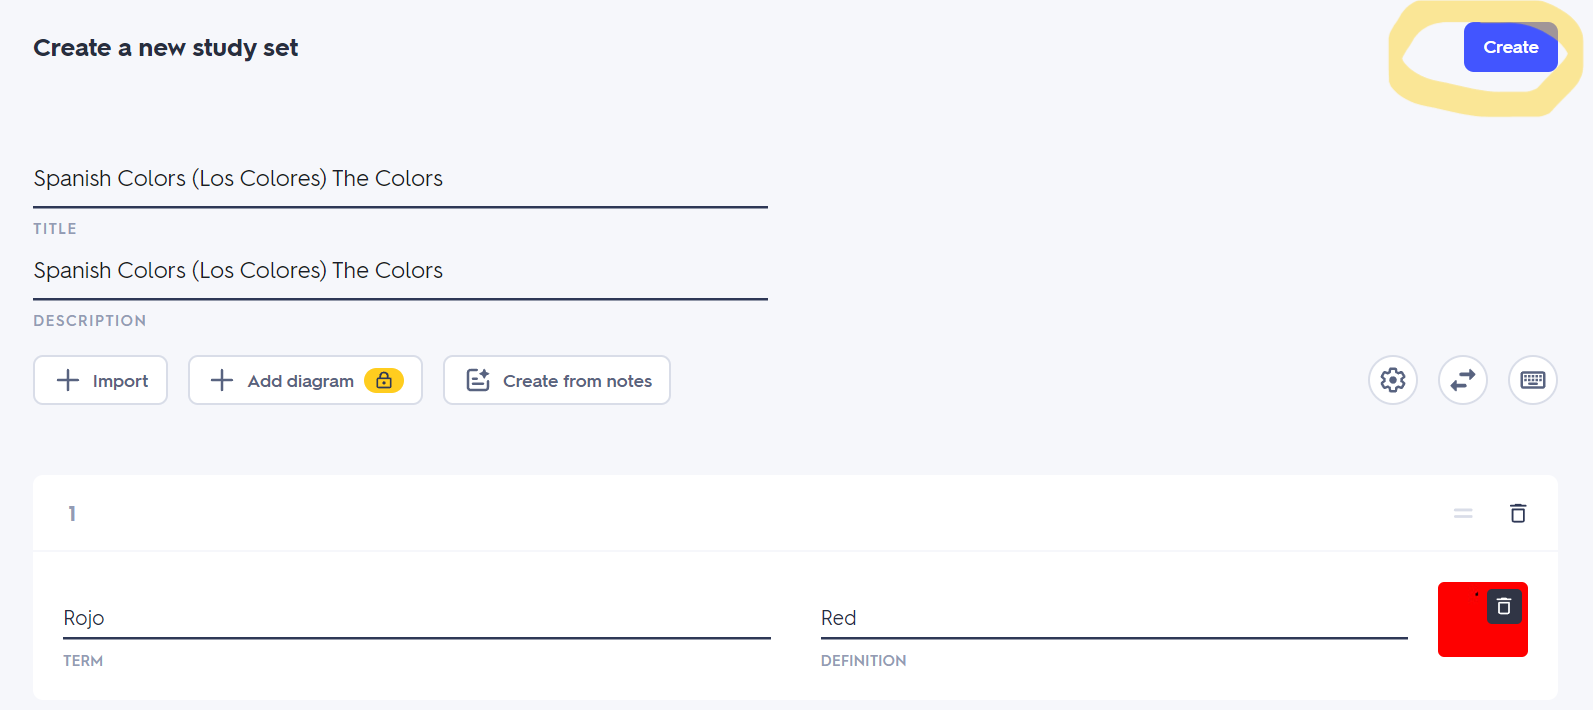
5) It will use all of these terms, & take you to a page where you can “Create a New Study Set”. Here you can change the Title, Description, & Edit the terms and/or images with each term.
a) If I don’t want the picture (right now it’s just showing a red square), I can click the little trash can, to delete.
b) If I want to change the image, I have to delete it, then it will be empty and I can click where it says “Image” to select a new one.

i) Here’s what it looks like when I select a new image.

c) To add a term between terms, click the + button: 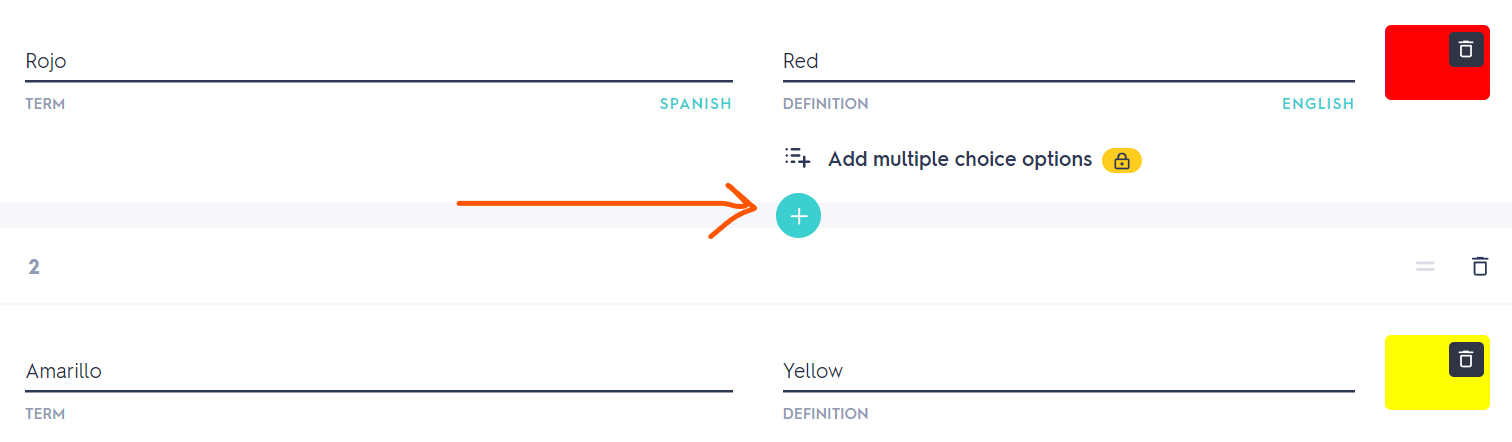 d) To delete a term, click on the term, click the trash can at the top, and “delete this card".
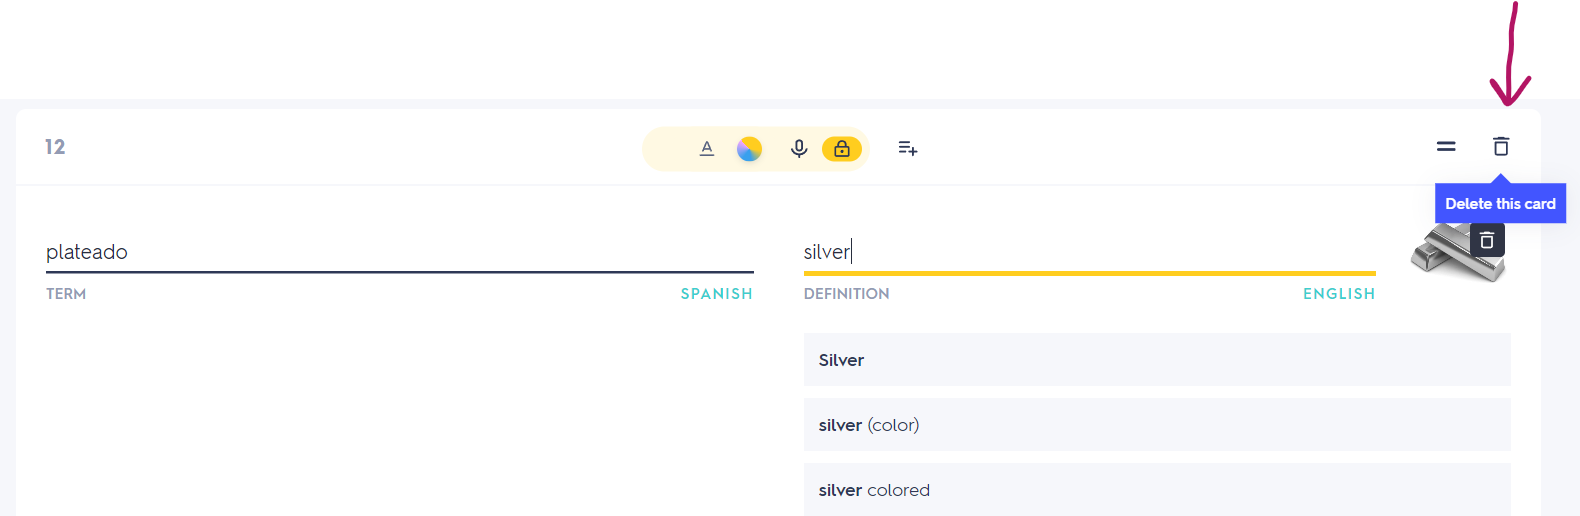
d) To delete a term, click on the term, click the trash can at the top, and “delete this card".6) Once you’re done editing the terms & images you want, be sure to click Create, and you’re done! It’s as quick & simple as that!
I hope this step-by-step tutorial has been helpful to you, and will save you time in the future!
I hope this step-by-step tutorial has been helpful to you, and will save you time in the future!
Save this post for later!
-min.jpg "blog posts for creating quizlet sets")
Looking for more teaching & tech tips for your class? Check out these posts for more!
Spanish Classroom Speaking, Listening, & Writing Extension Activities
How to Use Pre-Made Quizlet Sets & Edit for your Class

.jpg)
.jpg)